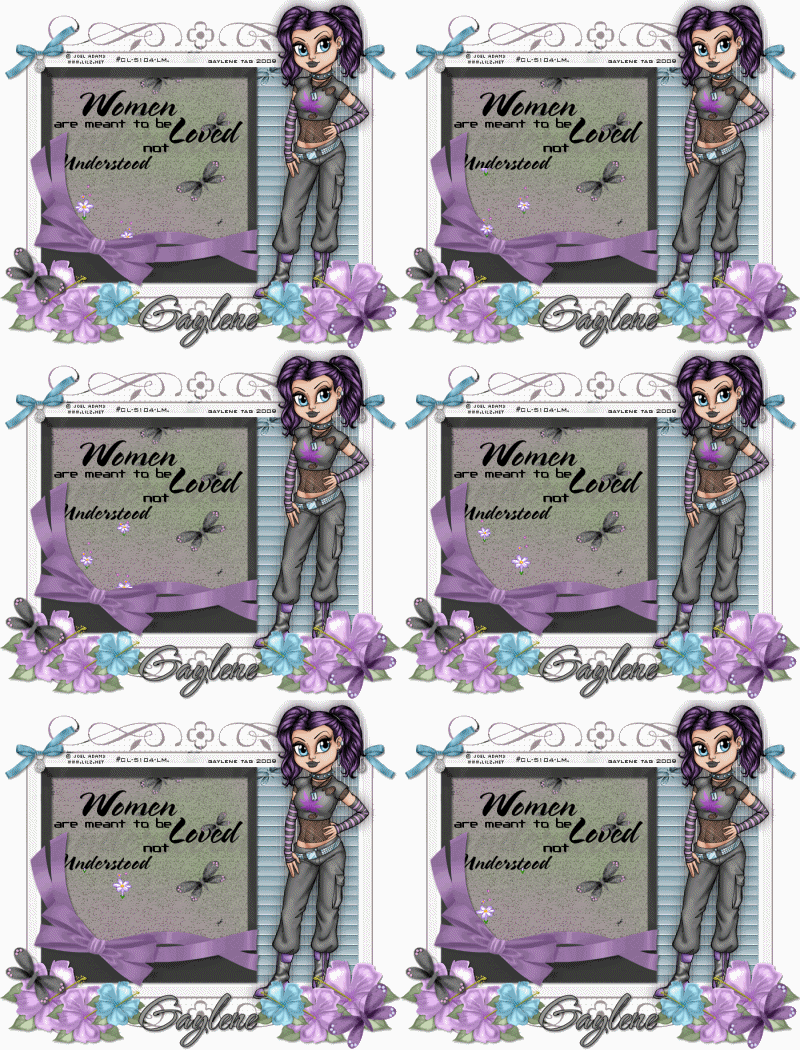
Whooo Hooo made this scrap-kit with nooooooo help lmao
Download HERE
Please leave me a comment if you download it
took me hours to make ....
thanks so much
Gaylene
xox


Click on tag to enlarge
I wrote this tutorial on June 10th 2009
Any similarity to any other tutorial is purely coincidental
This tutorial was written in psp8 but should work in other versions.
Supplies needed..
Tube
Mask (in supplies)
Scrap-kit
Plugins needed...
DSB Flux.. Blast & Eye Candy 5, Impact, Perspective Shadow
Scrap-kit Mariah FTU from Bluedream Designs
Download HERE
Thanks Bluey for the freebie it's gorgeous
Mask I used is maskCris2
I can't remember where I got this mask from
If it's your please let me know & I will give proper credit for it.
Tube is from Keith Garvey it's PTU tube
Purchase from HERE
Open new white image 700x580
Selections, select all, layers, new raster layer
Copy and paste paper of choice into selection, select none
Layers, load save mask from disc, find maskCris2, load
Layers, merge group
Repeat the above but use a different paper
Then image, resize by about 95%
Copy and paste frame of choice as new layer
Image, resize about 70%
With deform tool carefully pull out to fit on the the mask
See my tag for placement
Click in the frame with magic wand
Selections, modify by 4, Copt and paste paper of choice as new layer
Selections, invert, hit delete on your keyboard
Select none, drag this layer under the frame layer
Make the white background layer active now
Copy and paste mesh 2 as new layer, move to the left
Layers, duplicate, image, mirror
Make the top layer active now
Copy and paste ribbon 1 as new layer, move up to the top
See my tag, drag this layer above your mesh layer
Layers, duplicate, image flip
Add drop-shadow and sharpen to both layers
Make the background layer in your frame active
Apply DSB Flux, Blast, apply all 4 directions and put
Percentage on 20, copy and paste your tube as new layer
Resize it so it fits in the frame, layers, properties
I put my Opacity on about 60' click ok
I also added some blinds choice is yours though
Now add some word-art of your choice
I've used some from Clareys Designz
Add drop-shadow to your frame, and word-art
Copy and paste your tube again as new layer
Place to the right of your tag & add drop-shadow
Copy and paste some elements as new layers
Adding a drop-shadow to these layers & sharpen
Add your name and any copyrights to your tag
Close of the white background layer, merge all the other layers visible
Now open your white background layer
Make the merged layer active
Now get the Eye Candy 5, Impact, Perspective Shadow up
Unclick the Reflect Selection Colour
Click on the little black arrow & make your foreground & background
Colours what you want, now click on the Reflect Selection Colour again
Click ok, layers, merge all, save as...
Add a border if you want also
Thanks so much for doing my tutorial
Gaylene

Click on tag to enlarge
I wrote this tutorial on June 6th 2009
Any similarity to any other tutorial is purely coincidental
This tutorial was written in psp8 but should work in other versions.
You will need...
2 Tubes from the same artist
Scrap-kit
Mask
Put the mask in your psp mask folder
Download mask HERE
The tubes I have used are from the gorgeous art-work of
Jennifer Janesko you must have a license to use them
Purchase from HERE
Scrap-kit Classic Beauty PTU from Gail...Aussie Scrap Designs
You can purchase from HERE

This tutorial was written by me on June 5th 2009
Please don't copy and claim as your own
Supplies you will need...
Tube
Scrap-kit
Mask
Put the mask in your mask folder
Plugins needed.....
Xenofex.. Constellation & Lightning
AAA Filters... Tweed Frame
Dragonfly..sinedots 2
The tube I have used is a PTU one from Jennifer Janesko
You can purchase her tubes from HERE
Scrap-kit Wickedly Dark FTU from Wicked Princess
Download HERE
The mask I have used is SL-MorningGloryMasksabre from Sabre
Download HERE
Open a new transparent image 700x580, flood-fill with black
Selections, select all, layers, new raster layer
Copy and paste paper 13 into selection
Select none
Layers, load save mask from disc, find SL-MorningGloryMasksabre
Load, Layers, merge group. Image, resize 110%
Make raster 1 layer active, Xenofex, lightning, settings below
Taper main arc ticked, 2, 92, 90, 36, random seed on 5916, click ok
Layers, new raster layer, apply the lightning again
Image mirror, move the lightning down slightly
Layers, new raster layer, apply Dragonfly, Sinedots 2
I used default settings, layers, duplicate, image, mirror
Move the sinedots carefully where you want it
Layers, Properties, put the Opacity on 43, click ok
Do this to the both Sinedots layers
Now add some Xenofex, Constellation to both the Sindots layers settings below
2,6,1,1,100,55, 45 and keep original image ticked, random seed on 5571
Click ok
Make the top layer active, copy and paste frame 3 as new layer
Image, rotate, 90 Degree's right, all layers not ticked
Image, resize, 95% copy and paste your tube as new layer
Resize the tube if you want and place in the frame where you want it
Now duplicate the frame, and drag above the tube layer
Erase what parts of the frame you want to so some of the tube is outside the frame
Copy and paste rose 2 as new layer, I colourized the roses blue
And resized them 60%, place where you want them
Duplicate as many times as you like
Copy and paste Heart chain 1 as new layer, place on the frame
Add drop-shadow, write what you want in the heart
I wrote Shani as she made the scrap-kit and this tag is a gift to her
Add slight drop-shadow to the writing
Copy and paste flower 2 as new layer, resize and rotate them
I also duplicated them and them resized them again
Add drop-shadow and sharpen them
Add your name and any copyrights to your tag
Now make raster 1 layer active, AAA Filters, Tweed frame
With these settings 5,150, 0,0,0,0,100 & Normal clicked
Now click ok
Layers, merge all & save as..........
Thanks for taking the time to do this tutorial
Gaylene
xox

